Tuesday, January 31, 2017

Winnie & Walter Release Premiere Day #1


Hello and welcome to Day #1 of Winnie & Walter New Release.

There are nine stamp sets, quite a few cutaways released on February 3rd including a free stamp set.

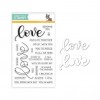
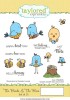
Today I am showcasing a stamp set from Winnie & Walter's trademark The Big and Bold series called The Big, the Bold and Baby! 


This stamp set is a big 6x8 inch stamp set and there are dies available for this set separately. I don't have the dies with me so I have used only the stamp set to make my card.  There is a sneak peek of another new stamp set on my card.

Surprise card

Instructions:

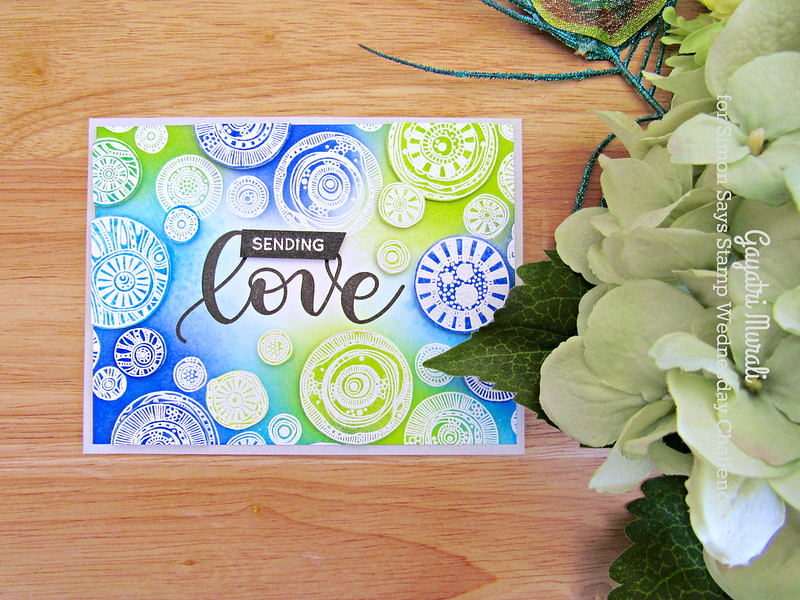
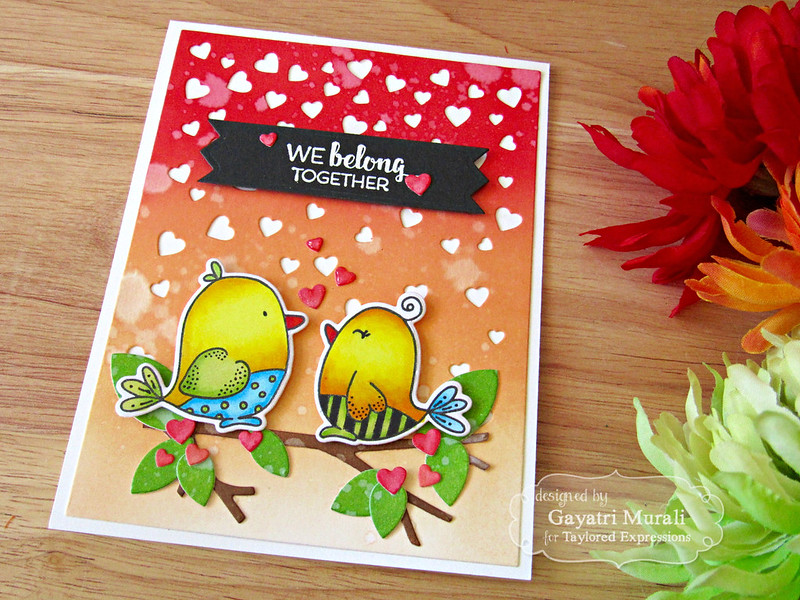
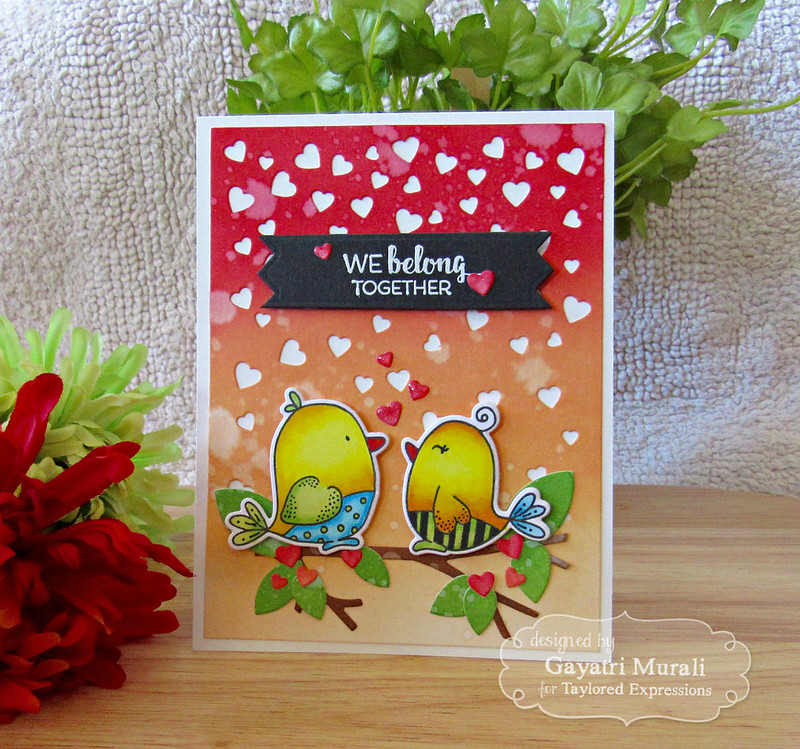
1. Fog cardstock is my card base.

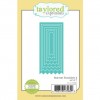
2. I die cut a white cardstock using the largest rectangle die from Essentials: Katharine Cutaway.

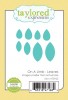
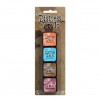
3. Sponged distress inks Twisted Citron, Spun Sugar, Squeezed Marmalade and Tumbled Glass.

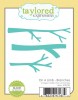
4. Once dry, I used Picket Fence distress paint to make some rays starting  from centre of the panel to the edges and let it dry.

5. I stamped the cute elephant images from another new stamp set to be previewed later during the week and copic coloured both the images. I then hand cut them out. There are coordinating dies available for it. I just don't have them with me yet.

6. The sentiments from The Big, the Bold and Baby stamp set are white heat embossed on the top and bottom of the panel.

7. I adhered the elephants using foam adhesives on the middle of the panel.

8. This panel is adhered on the card base using foam adhesives and embellished using Sparkling Clear sequins.

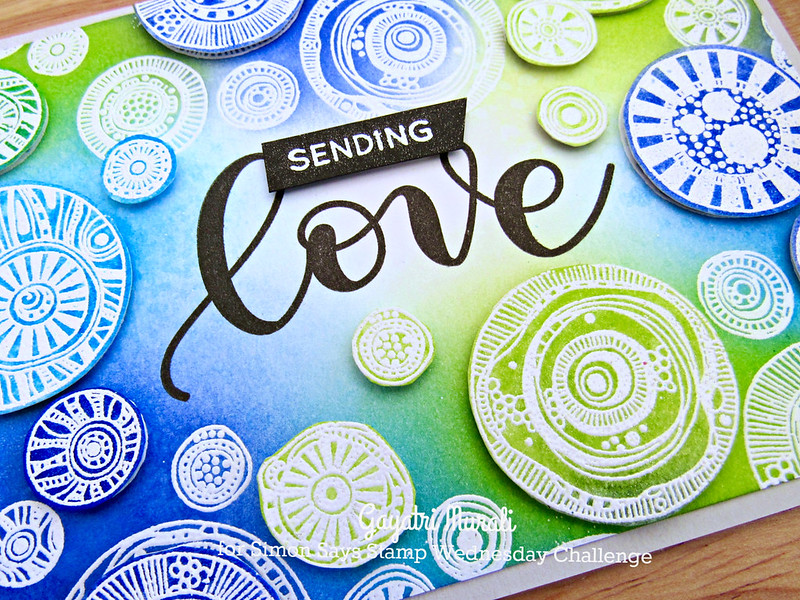
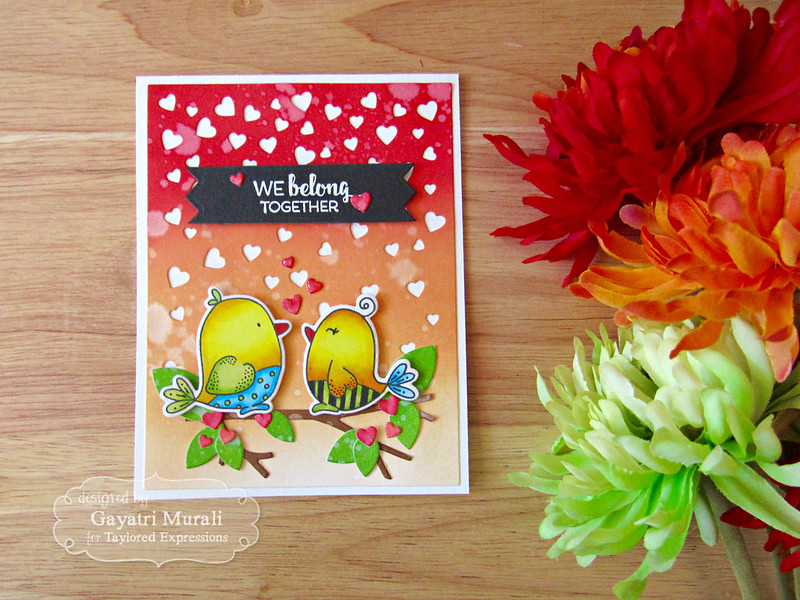
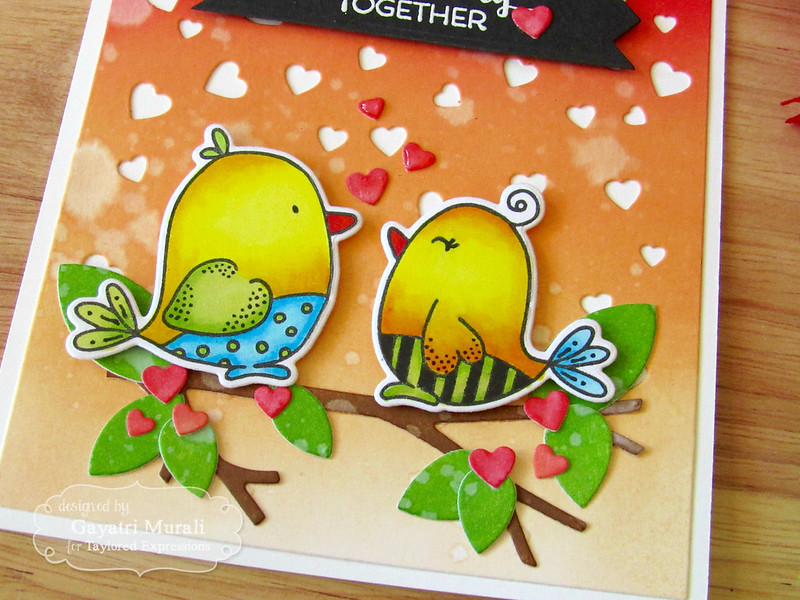
Here is a closeup of the card.

Surprise card clsoeup1

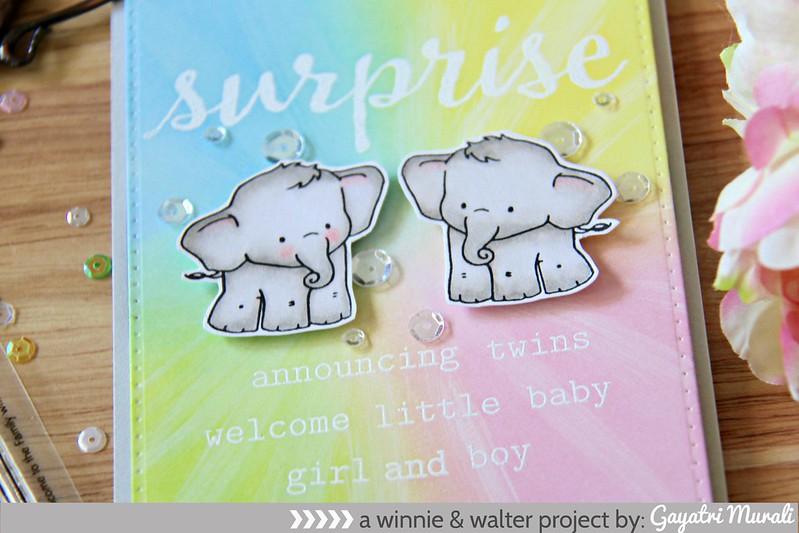
Love the sentiments on the The Big, the Bold and Baby. There are so many sentiment to make baby cards for baby boy, baby girl and twins. And there are images from other new stamp sets which will go well with the stamp set.

Check out Winnie & Walter Blog for more inspirations from the Design Team and more details about the Big Giveaway.

Thanks for stopping by my blog today. I will see you tomorrow with Day #2 of Winnie & Walter new release.

My blog signature

Wednesday, January 25, 2017

Simon Says Anything Goes!


Hi all and welcome to another week on the Simon Says Stamp Wednesday Challenge
Thank you for joining us for the Anything But A Card Challenge and we hope you will all join us again this week too.
We will be back soon with the name of the lucky winner of the $50 Voucher
This week the challenge is

Anything Goes

This week we are showcasing Carabelle Studio Products. You don’t have to use them for the challenge but if you have them we would love to see them used.
As always Simon Says Stamp will be giving away $50 voucher to shop at the fabulous Simon Says Stamp Store.
I have used Carabelle Studio's ET RONDS stamp set to make my card.

Sending Love

Instructions:

1. I started with a white cardstock panel which measured 4.25"x5.50".

2. I white heat embossed the images from Carabelle Studio on the edges of the card panel.

3. I trimmed the panel to 4"x5.25" in size and them sponged Blueprint Sketch, Twisted Citron and Salty Ocean distress inks on the edges fading to the middle.

4. I also white heat embossed the images on a scrap piece of cardstock and sponged the same distress inks.

5. I fuzzy cut the images from the scrap piece of paper to over lay on the main panel.

6. Before that I stamped the large sentiment from Simon Says Stamp Love stamp set using Versafine Black Onyx ink. I used mini MISTI to stamp the sentiment in middle of the panel and get good coverage.

7. I now over laid the cut images on the main panel using foam adhesive to add dimension.

8. The smaller sentiment is white heat embossed on black cardstock, trimmed and adhered using foam adhesives as well.

9. Final panel is adhered on Fog card base.

Here is a closeup of the dimension.

Sending Love closeup

So now it’s YOUR turn to get crafty!!
Do you use Instagram ?  If so please add  #ssswchallenge to your challenge entry uploads so we can see them on there too !
There are fabulous Give Aways and inspiration from fabulous designers on a daily basis over on the Simon Says Stamp Blog , if you haven’t subscribed by email you may want to so you don’t miss out.
Simon Says Stamp
You have until Wed  8am Ohio time. 1pm UK time, 2 pm CET to join in
No backlinking allowed, Only 5 new creations will be eligible in the prize draw
word-verif
Card Supplies:


Thanks for stopping by my blog today!
My blog signature

Sunday, January 22, 2017

We belong together!


We belong together flat closeup

Hello everyone,

I am back sharing a card I made using Taylored Expressions stamp sets and dies. These products were released in December 2016 and are valentine themed. 

We belong together flat1

Instructions:

1. Blend Candied Apple and Dried Marigold distress inks on Sugar Cube cardstock panel.

2. Spatter clean water to add texture to the panel.

3. Die cut this panel using Falling Heart cutting plate from Taylored Expressions and adhere on Sugar Cube card base.

4. Stamp the bird images from The Birds and the Bees stamp set from Taylored Expressions using Oreo hybrid ink.

5. Coloured them using copic markers and die cut them using the coordinating dies.

6. Sponge Gathered Twigs and Mowed Lawn distress inks on a scrap piece of white cardstock and spatter with clean water.

7. Die cut the branch and leaves using On the Limb - Branches and On the Limb - Leaves dies also from Taylored Expressions.

8. I adhered the leaves on the branches and adhered on the bottom of the panel.

9. I adhered the birds on the branches using foam adhesives for added dimension.

10. I white heat embossed the sentiment from The Birds and the Bees on Oreo cardstock and die cut using the second smallest die from Banner Stacklets 4.

11. I adhered this on the top middle of the card front using foam adhesives.

12. I used the tiny hearts left over from die cutting the sponged panel to embellished the card. I brushed the heart with Wink of Stella clear shimmer and added glossy accent on the heart above the birds only.

Some more photos of the card for you.

We belong together closeup1

We belong together

The supplies used to make my card is listed below.

Card Supplies:


Thanks for stopping by my blog today!

My blog signature